


Introduction
Containers are a popular way to package and deploy applications in modern day software development practices. For this article, I will discuss setting up a new environment that we can use to host containers using Docker and use an application called Portainer to provide a nice way to manager them without having to do so through the Docker command line. This is a great way for beginners to familiarise themselves with the Docker platform.
What is Docker?
Docker is a platform to help develop, build and run applications quickly, in a self-contained way that allows us to decouple our applications from the underlying infrastructure. Applications run in 'containers' that are designed to be lightweight, and contain all the required dependencies to allow the application to run.
A more in depth introduction to Docker can be found on the Docker website here
What is Portainer?
Portainer is a container management tool that itself runs inside a container within docker. It provides a simple user interface (UI) that allows us to manage and monitor all aspects of our docker deployment. It comes as both a free community edition and more featured business edition options.
More information can be found here
Oracle Free Tier
Oracle Cloud offers one of the more generous set of always free services, including low powered virtual machines that are ideal for small containerised workloads. You can see a full list of their always free services here and register for a new account here if you wish to use an Oracle Cloud VM to follow this guide.
Setting up the Virtual Machine
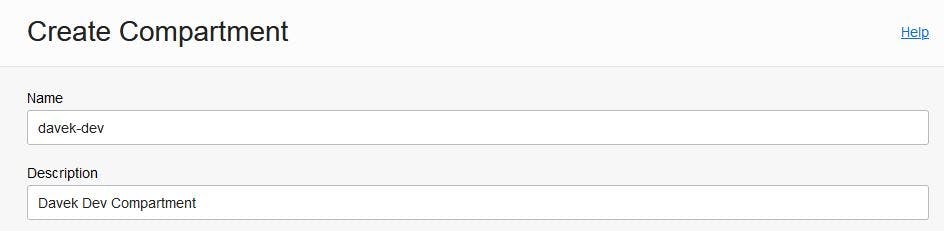
Once you have created an account in Oracle Cloud, the first thing to do is set up a 'compartment' for our virtual machine and related services to run in. Compartments allow us to segregate different services into related groups.
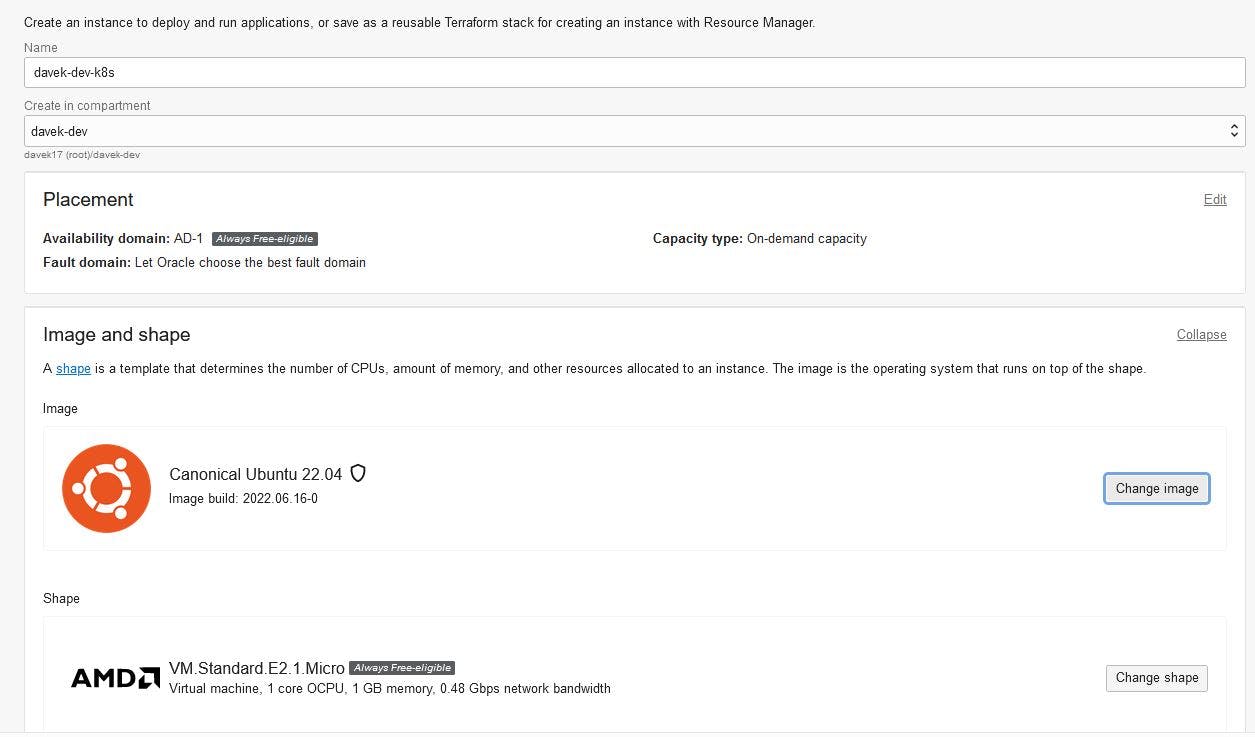
Once the compartment is created, we can select 'Compute' and 'Create a new compute instance'. Provide a name for our virtual machine and select the compartment we have just created. I also prefer to change the image from the default Oracle Linux to Ubuntu as a personal preference, and for this guide I will be using the Ubuntu image. You can leave the shape to the default value, it should be labelled as 'Always Free'.
In the networking section, select 'Create new virtual cloud network' and assign the subnet a memorable name. You should also ensure 'Assign a public IP address' is selected.
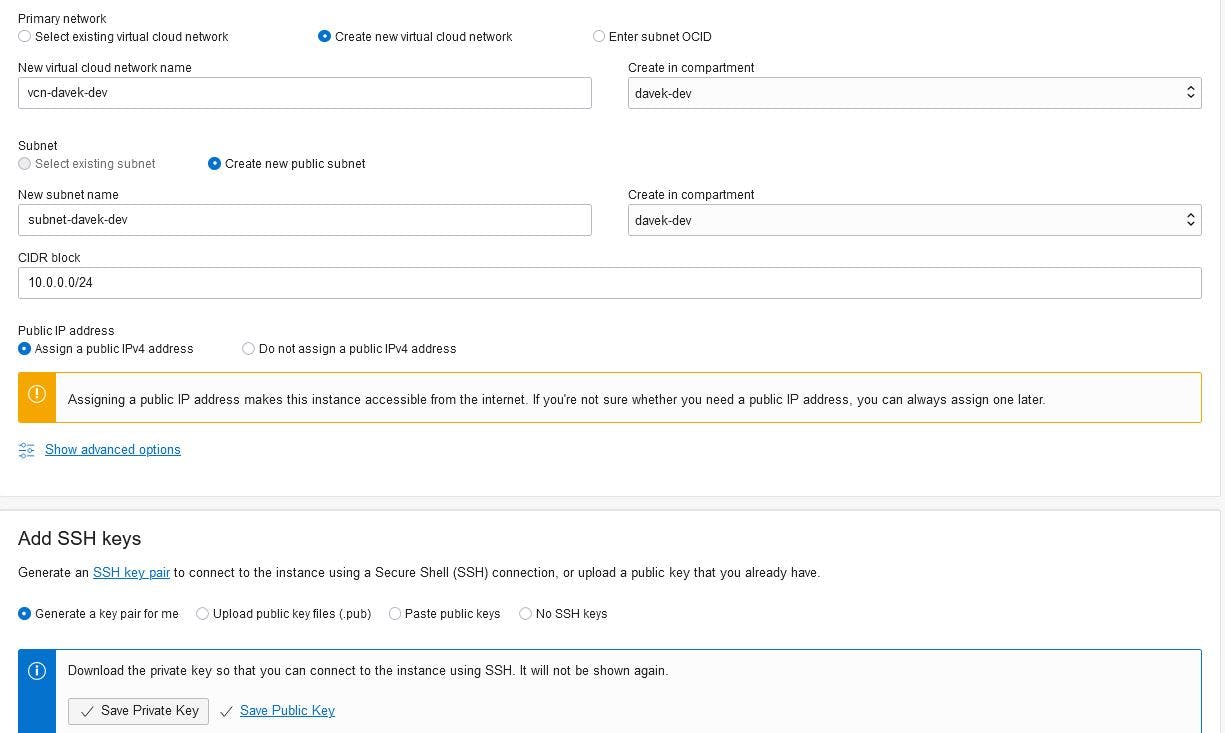
In the 'Add SSH keys' section, where it gives you the option to download the keys, ensure you download the private key as we will need this to access the virtual machine later.
Click 'Create' and the instance will be provisioned.
Connecting to the Virtual Machine
Configuring the VM Firewall
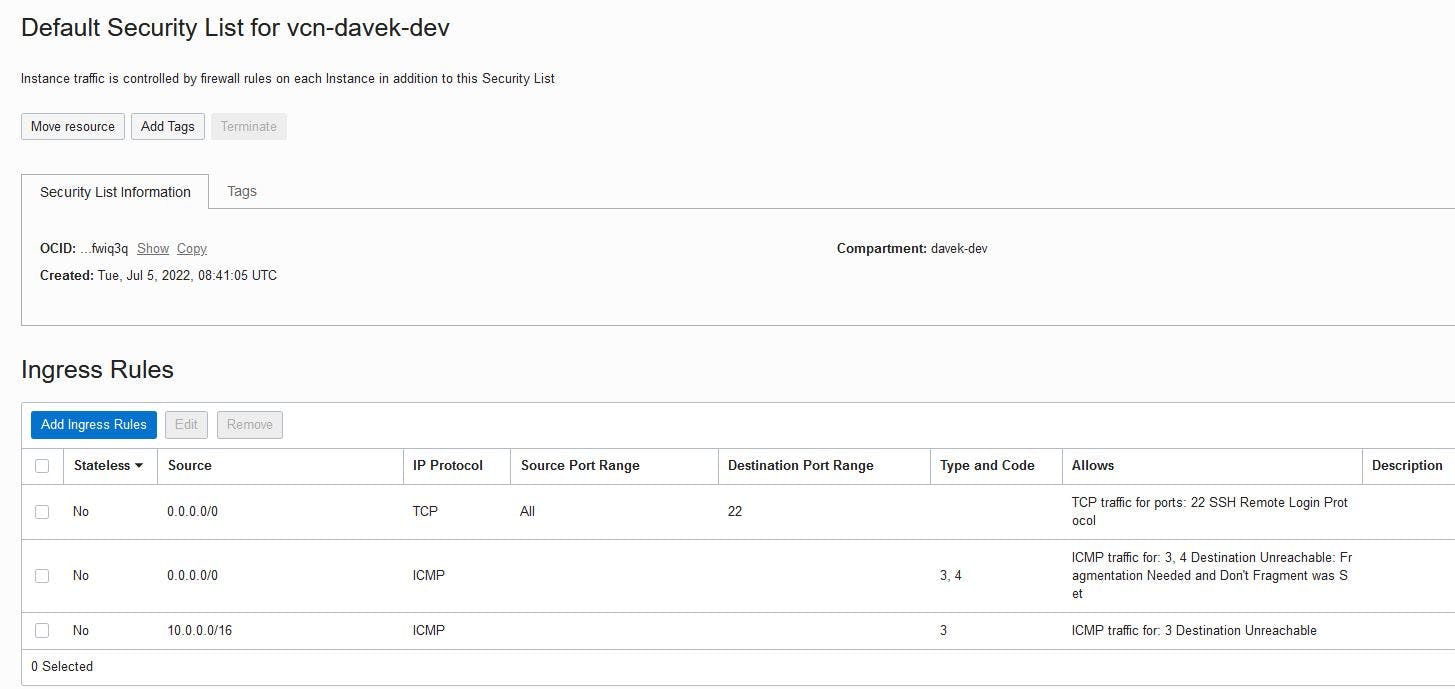
Once provisioned you should see the subnet name on the right-hand side under the 'Primary VNIC' heading, click on it.
Here you can edit the default security list, so if you have a static IP you may want to restrict port 22 to just your Own IP address. As you need a CIDR not just the IP, if you're adding a single IP you can just add /32 to the end of your local IP address.
You should also allow access to port 9443 as we will use this later.
Using Puttygen to Convert the SSH Key
In this guide, we will be using Putty to connect to our virtual machine. To do this, we firstly need to convert our SSH key to the correct type for Putty to use.
If you don't already have Putty installed, you can download it here.
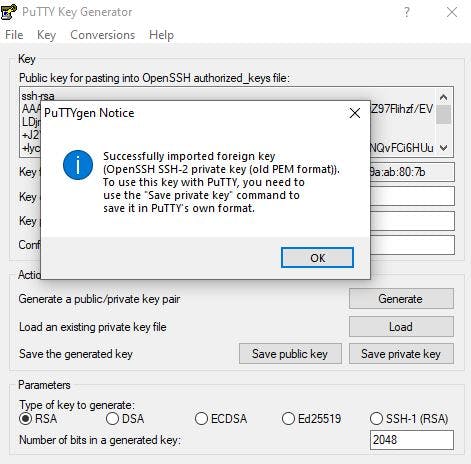
Once installed, launch Puttygen, which comes bundled with Putty.
Click 'Load' then select the private key downloaded from Oracle Cloud earlier. You will then be prompted that you should save the key in Putty's own format. Click 'OK' and then 'Save private key' to save the key in the required format.
Connecting via SSH with Putty
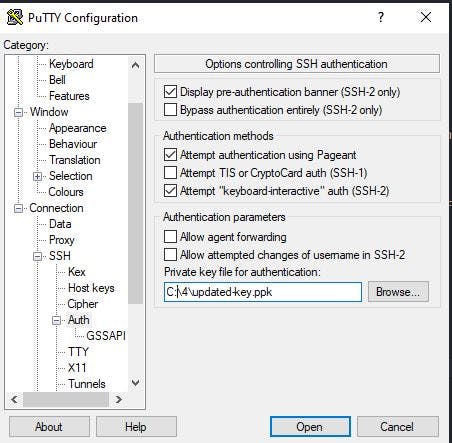
Open 'Putty' then scroll down on the left menu to the Connection => SSH => Auth section.
In the 'Private key for authentication' box, click 'Browse' and select the ppk file created by Puttygen.
Click back to the 'Session' option and enter the public IP address of the VM instance created earlier. You can also give this profile a name and click 'Save' to allow you to easily re-connect later.
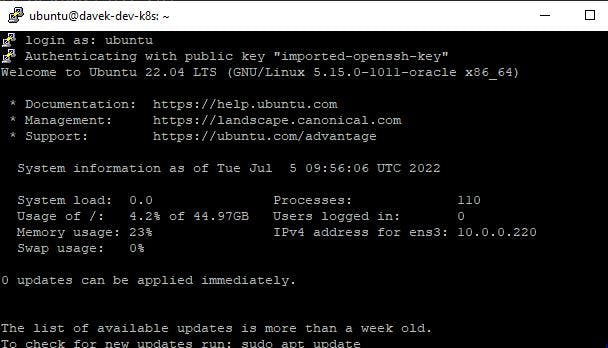
Once done, click 'Open' and you should see a connection being made to your virtual machine. If you used the Ubuntu image, your username will be 'ubuntu'. If you used a different image, then the username should be displayed on your virtual machine details screen in Oracle Cloud.
Installing Docker
Setting up the Repository
Firstly, we need to ensure our system is up-to-date and then install the Docker repository to allow us to download and install the Docker application.
sudo apt-get update
sudo apt-get install \
    ca-certificates \
    curl \
    gnupg \
    lsb-release
sudo mkdir -p /etc/apt/keyrings
curl -fsSL https://download.docker.com/linux/ubuntu/gpg | sudo gpg --dearmor -o /etc/apt/keyrings/docker.gpg
 echo \
  "deb [arch=$(dpkg --print-architecture) signed-by=/etc/apt/keyrings/docker.gpg] https://download.docker.com/linux/ubuntu \
  $(lsb_release -cs) stable" | sudo tee /etc/apt/sources.list.d/docker.list > /dev/null
Install Docker CE
Then we can go ahead and install the Docker application
sudo apt-get update
sudo apt-get install docker-ce docker-ce-cli containerd.io docker-compose-plugin
And we can add our current user to the docker group to save us needing to run as sudo each time we want to run a Docker command.
sudo usermod -aG docker $USER
We should now close our session and log back in to allow the changes to take effect.
Portainer
Installing Portainer
Firstly, we need to install a volume for our Portainer data. Because Docker containers are self-contained, when we tear down our container, we also lose any data stored within the container. To prevent data loss, we use Docker to create volumes, which are basically storage areas on the host machine that are mapped into a container, so that when the container is destroyed, the volume and data stored within it are retained. This is useful for when we're upgrading or redeploying containers, and can re-map the volume to the new container without data loss.
docker volume create portainer_data
We can then tell Docker to run the Portainer container. In the command below, we provide port mappings which tell Docker to expose port 8000 from within the container to port 9443 on the host machine. Remember, we allowed access to 9443 when we configured the virtual machine firewall earlier.
We also give the container a name, a restart policy and link 2 volumes. The one we just created above, and the docker socket. This allows Portainer to execute Docker commands to allow it to manage Docker for us.
The final line is the image name and tag. At the time of writing 2.9.3 was the latest version of Portainer container. If this image doesn't already exist on the local machine, Docker will go ahead and download it for you.
docker run -d -p 8000:8000 -p 9443:9443 --name portainer \
    --restart=always \
    -v /var/run/docker.sock:/var/run/docker.sock \
    -v portainer_data:/data \
    portainer/portainer-ce:2.9.3
When this has completed the installation, we should be able to list the containers in our Docker instance and see our Portainer container running:
docker ps

Accessing Portainer
We should now be able to access our Portainer instance at :9443
You may be presented with a certificate error as Portainer uses a self-signed certificate. You can safely ignore this.
The first time you load the Portainer interface you will be asked to create a user account.
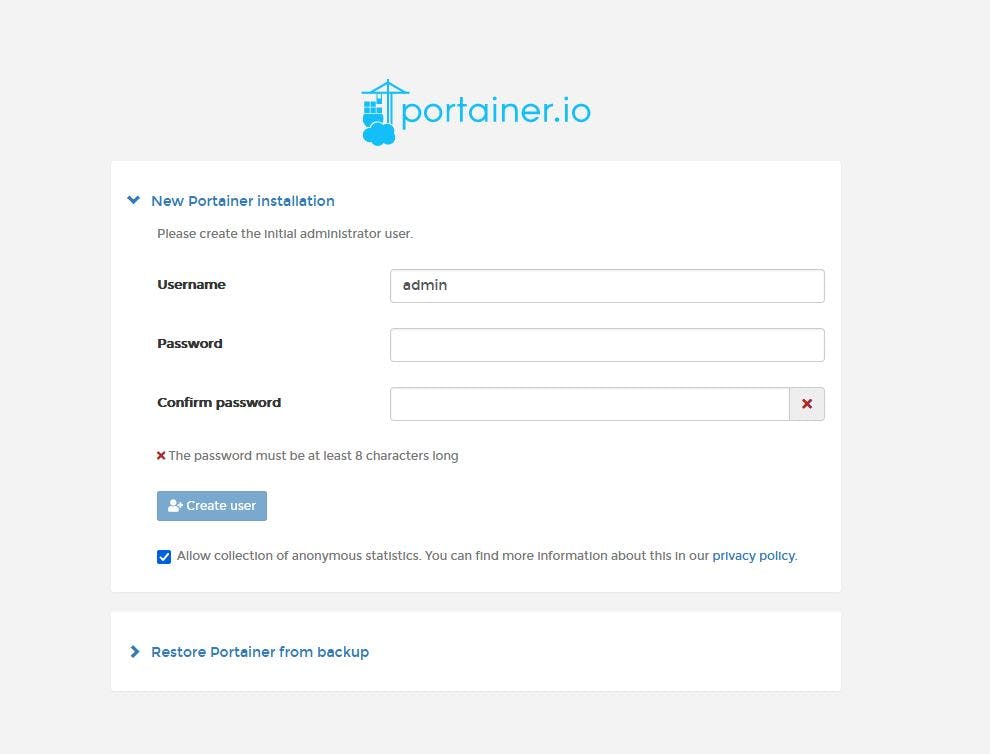
Create an account and then when presented with the environment wizard, select 'Proceed with the current environment'.
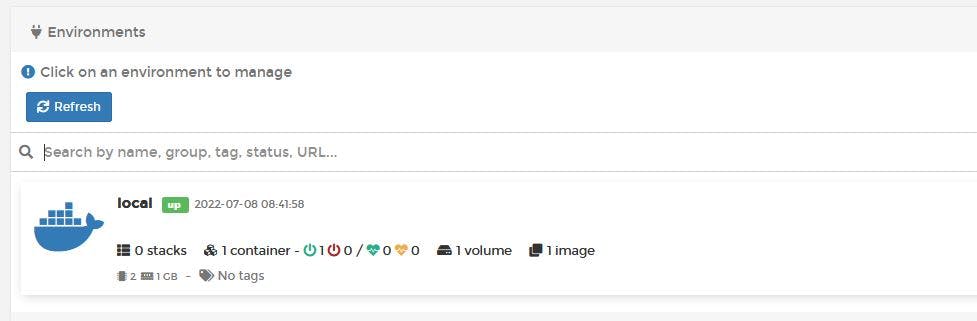
You should then be presented with the local environment, which should have a single container (our Portainer container) up and running:
Summary
We now have a Virtual Machine up and running complete with Docker and Portainer to allow us to manage our Docker containers and images. Go ahead and explore the user interface and you should see the Portainer image in the images section, our volume in the volume section. If you go into the container itself you should be able to see how the port mappings and volumnes are confgured, along with a number of other options you can configure on a container when required.